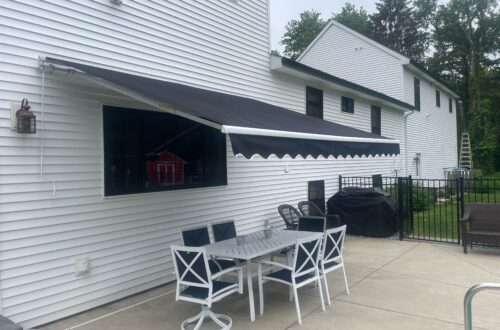
Picture this: a sunny day, a gentle breeze, and you chilling under your brand-new RV awning. Sounds like a dream, doesn’t it? In this guide, we aim to unravel the intricacies of the RV awning installation process, presenting a systematic approach that ensures success without unnecessary complications.
Setting the Scene
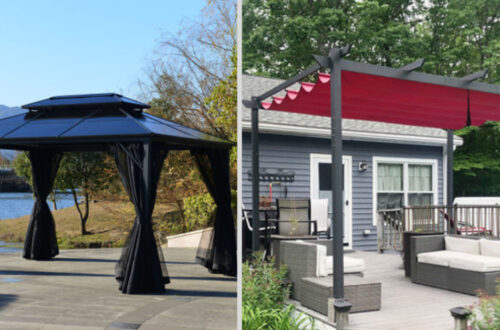
Let’s talk about why adding an awning to your RV is not just a good idea but a game-changer. First off, it’s all about comfort. Whether it’s the scorching sun, pouring rain, or even a light drizzle – an awning acts as your reliable shield against the unpredictable whims of weather. It’s like having a versatile companion that ensures your outdoor experience remains enjoyable, come rain or shine.
Beyond mere functionality, an awning adds a touch of style to your RV setup. It’s the difference between basic and brilliant, transforming your campsite into a personalized oasis. Whether you’re hosting a spontaneous outdoor gathering or simply unwinding after a day of exploring, the RV awning sets the stage, offering a cool and comfortable space that reflects your unique style. So, installing an awning isn’t just a practical move; it’s a statement – a declaration that your RV isn’t just a vehicle; it’s a lifestyle.
Navigating the RV Awning Installation Adventure
Now, let’s keep this adventure simple, no matter which type of RV awning you’re working with. No need for an advanced degree in engineering; we’re here to break it down into easy steps to level up your travel game.
Step 1: Assembling Your Toolkit
Equip yourself with a trusty drill, a sturdy ladder, measuring tape, a set of wrenches, and a level.
Step 2: Picking the Perfect Spot
Selecting the right spot for your awning is akin to discovering the perfect camping site – an art that blends practicality with a touch of finesse. Imagine a flat, unobstructed canvas where your awning will shine. We recommend placing your RV awning on the same side as your camper entrance, covering the door and the space surrounding it.
Step 3: Measure Twice, Drill Once
Heed the timeless advice – measure twice, drill once – a mantra to avoid any unforeseen mishaps. There’s no need to rush; take it slow and steady – a deliberate approach that ensures your awning installation is as flawless as a well-designed blueprint.
Step 4: Assemble Like a Pro
Now, the real excitement unfolds as you unwrap your awning kit. Use your manual to guide you through the adventure of assembly. If a challenge arises, there’s no shame in consulting the manual again.
Step 5: Mount and Chill
The moment you’ve been waiting for has arrived – it’s time to mount that awning and bask in the glory of victory. Tightening the bolts becomes a ceremonial act, securing your awning with precision.

Tips for Smooth Sailing
Fine-Tuning Your Installation: Tips and Tricks for a Seamless Integration
As you embark on the journey of RV awning installation, fine-tuning the process is essential for a seamless integration that stands the test of time. Let’s delve into some invaluable tips and tricks to navigate potential challenges and elevate your installation to a level of expertise.
1. Enlist a Wingman: Collaborative Expertise
Don’t hesitate to invite a friend or family member to join when installing or replacing RV awning fabric. An extra pair of hands can make a substantial difference, assisting with holding components in place, offering a fresh perspective, and turning the installation into a collaborative and enjoyable experience.
2. Mind the Weather: Timing is Everything
Selecting an ideal day for installation is crucial. Avoid windy or rainy days, as these weather conditions can complicate the process and potentially lead to installation challenges. Opt for a calm day with clear skies, allowing you to focus on the task at hand without battling the elements.
3. Double-Check the Manual: Your Installation Bible
The manual provided with your RV awning kit is a treasure trove of information. Treat it like your installation bible, referring to it at each step to ensure you’re following the manufacturer’s guidelines precisely. If a particular step seems unclear or you encounter a hiccup, don’t hesitate to revisit the manual for clarification. Manufacturers often include troubleshooting tips that can be invaluable in addressing common installation issues.
4. Tighten, but Not Too Tight: The Goldilocks Principle
When securing bolts and fasteners, adhere to the Goldilocks principle – not too tight, not too loose. Achieving the perfect balance ensures structural integrity without risking damage to components. Think of it as finding the sweet spot, allowing for flexibility while maintaining a secure and stable installation.
5. Test the Waters: Ensure Smooth Operation
Before hitting the road, take the time to test your newly installed awning. Roll it in and out a few times to ensure smooth operation. This final quality check ensures that the awning functions flawlessly, providing you with the confidence that your installation efforts have resulted in a reliable and user-friendly addition to your RV.
Wrapping Up Your Awning Adventure
And there you have it, dear roadsters – a comprehensive guide to RV awning installation, presented with simplicity and a dash of flair. By following these steps, injecting your own personal touch, and embracing the installation process with confidence, you’re on the verge of becoming the envy of the entire RV community. Picture your mobile abode transformed into a haven on wheels, where every journey promises a laid-back adventure in the soothing embrace of your new shade haven.
So, why wait? Take charge, embark on your awning installation journey, and let the road be your canvas for exploration and relaxation. As you hit the asphalt with your newly installed awning, relish in the admiring glances from fellow travelers, each one secretly wishing they had your level of comfort and style on their own rig.