Has your RV awning seen better days? Are there holes and tears? Mildew stains you can’t remove?
Over time, that’s to be expected. It comes with the territory of being in nature and weathering the elements. While it’s always a good idea to learn how to clean RV awning covers, the materials will eventually need to be replaced over time.
The good news is that you can do this yourself. With the right tools and this handy tutorial covering how to replace RV awning fabric, you’ll be prepared to swap out the old awning for the new one in no time.
Tip #1: Selecting the Replacement Fabric
All types of awnings were designed to shelter you from the sun, rain, wind, snow, leaves, critters, and more. Choosing an awning replacement fabric requires precise attention.
When you retire your old awning fabric, you should only replace it with high-quality materials that can withstand such elements. But to find the right awning fabric for your RV, you’ll need to consider the following factors:
- Durability – Look for materials that are resistant to tearing, fading, or weathering, such as weather-resistant polyester that won’t shrink or stretch and provides mildew protection.
- Weight – If you plan to retract and extend the awning frequently, you should find a lightweight awning material that will roll up or out without a hitch, thus reducing the strain on the mechanism.
- UV-resistance – An awning is a vital source of shade. To protect against fading or sun damage, your new awning fabric should be made from UV-protective materials. All ALEKO outdoor awnings come standard with a UV-resistant fabric.
- Water-resistant – If you plan on subjecting your RV to wet or humid conditions, prioritize water-resistant materials.
- Ease of maintenance – Some materials are easier to clean than others. For example, acrylics tend to be delicate, especially when it comes to tree sap, which can make cleaning a challenge.
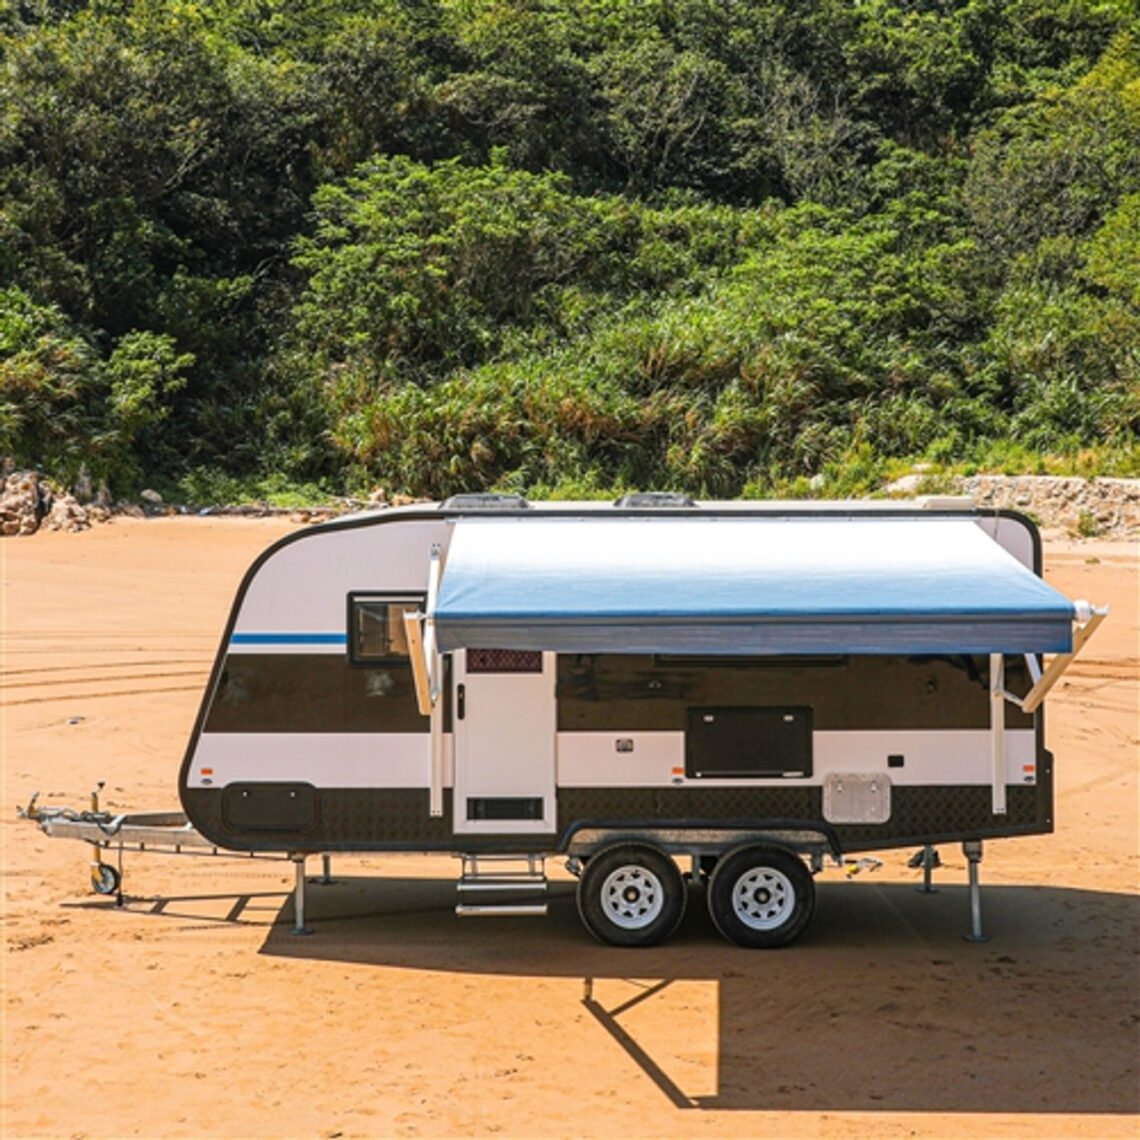
- Fabric dimensions – As you search for a substitute, be sure to also consider the awning’s dimensions. To find the accurate dimensions, do not measure the old fabric; instead, measure (in feet) from the center of one awning arm to the center of the other. Standard sizes for awning fabric include:
- 8 x 8 Feet
- 12 x 8 Feet
- 10 x 8 Feet
- 13 x 8 Feet
- 15 x 8 Feet
- 16 x 8 Feet
- 18 x 8 Feet
- 20 x 8 Feet
- 21 x 8 Feet
- Aesthetics – Top fabric options will be breathable and beautiful. A leading brand should offer an array of fabric color options so you can match the awning with the camper.
- Pricing – Different materials and dimensions have varying price points. Determine your budget and select an awning material that matches. For the qualities described above, a reasonable price point might range between $50 to $150.

Tip #2: Assembling Your Tools
While the tools for replacing RV awning fabric will depend on your specific awning, some of the more handy devices you should have nearby will likely include a:
- Marker or pen
- Electric drill
- Pair of wire cutters
- Replacement awning fabric
- RV caulk
- Screwdriver (Phillips and flat head)
- Step ladder
- Tape measurer
- Utility knife
You may also want to enlist the services of a friend or family member who can assist you with the project. Between securing the awning, threading the fabric, and disassembling and reassembling the pieces, the job will be easier and safer with an extra set of hands.
Tip #3: Disassembling the Awning
In most cases, it’s necessary to disassemble the RV awning to replace the old fabric because the fabric is attached to the RV and the frame. This also provides an opportunity to inspect and clean the awning frame, as well as lubricate any moving parts, which will ensure that the awning is functioning smoothly after the fabric is replaced.
To disassemble the entire awning, follow these steps:
- Loosen the mounting brackets – The awning will likely be mounted to the RV’s frame in four places, near the top edge of the roof. Using a drill and socket set, you’ll need to loosen the bolts connecting the top and bottom arms, as well as the screws securing the awning fabric in the fabric channel.
- Remove the awning tubes – Once the bolts are removed, you can lift and then slide the awning roller tube out of the brackets, down the channel, away from the RV. As you remove this tube, be wary of scratching the RV.
- Remove the spring arm – If your awning uses a spring mechanism, you will need to unwind the spring before you can extend it along the ground. This starts by removing the arm. For that, you’ll need to:
- Locate the small hole on the end cap
- Insert a pick or screwdriver into the hole to lock the spring tension
- Remove the bolt holding the arm to the bracket
- Remove the arm from the roller
- Release tension – Once the awning tube is disconnected, manually unwind the tension in the spring with the help of a bracket and vice grip. Rotate the bracket slightly forward and return the selector lever to the retract position, slowly rotating until the spring unrolls completely. As you unwind, mark the lever position and count the revolutions since you’ll wind the new material awning the same amount of times.
- Remove the spring assembly – Remove the pieces holding the end cap on, then set them aside.
- Unroll and remove the fabric – Once the roller tube is removed and the spring locking mechanism is released, you should be able to carefully unroll the fabric from the tube and then remove it from the awning frame. If there’s a rain gutter, you’ll need to remove that to slide the awning out. If the fabric snags, use your utility knife to separate the two layers.
Tip #4: Replacing the Fabric
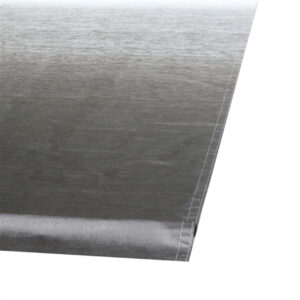
Lay out the new fabric with the pattern facing the ground.
Work the fabric ends into their given channels at the top of the RV, sliding them into place. Once that’s completed, you can slide the awning fabric into the roller tube.
After the fabric is attached, you can re-insert the spring and tighten the awning tube cap. From there, you’ll need to:
- Wind up the awning spring
- Reattach the roller arm
- Remove the pin holding the spring in place
That’s it. Now you know how to replace awning fabric on an RV.
Tip #5: Knowing When to Replace the Awning Fabric
When should you retire your old awning fabric?
Generally speaking, an awning’s lifespan can range from 5 to 15 years, depending on the conditions where you travel, maintenance and cleaning practices, and the level of exposure to the elements.
That said, there are signs you should keep an eye out for, including:
- Visible thinning, holes in the fabric, or tears – Over time, sun and rain exposure can eat away at the awning fabric. If your awning is in tatters, leaking water, or practically transparent, it may be time to find a replacement.
- Extreme color fading or sun splotches – Over time, the pattern, color, and fabric of an RV awning can fade in the sun. While the awning may still be functional, at some point the canvas may become so faded or worn that it needs to be replaced for aesthetic purposes.
- Mold and mildew – Even water-resistant materials can get moldy. And that’s especially true if you roll up and lock an awning when it’s wet. Mold and mildew may get so bad that even a thorough cleaning won’t fix the issue. If so, you’ll want to throw away the moldy awning for a new one.
Tip #6: Cleaning the Awning
Knowing how to choose the right fabric for awnings and how to replace it can come in handy. However, to maximize the value of your new awning, remember to periodically clean it. How frequently will depend on your RV usage and conditions. But two to four times a year should be suitable for most cases.
For a proper cleaning session, follow these steps:
- Assemble cleaning supplies – You’ll need to gather several items for a full awning clean, including:
- Ladder
- Bucket
- Hose
- Scrub brush
- Re-sealer
- Select a cleaning solution – Depending on your awning fabric’s conditions, you may want to use a store-bought cleaning solution, a hand-made dish-soap-based solution, or a formula precisely designed to remove tree sap.
- Perform a light clean – Sweep off any surface debris and grime from the topside and underside of the awning canopy.
- Wash the fabric – Soak the fabric in water and then the cleaning solution. Gently use a scrub brush to wipe away grime.
- Roll up the awning – Roll up the awning so the fabric fully soaks.
- Rinse off the awning – After an hour, unroll the awning and rinse off the top and back of the material until the soap is gone.
- Dry out the awning – Let the awning drip- and wind-dry in the sun.
- Reseal the awning – Treat the awning fabric with a re-sealing solution like 303.
Replacing Your RV Awning with Aleko
At some point, you will need to replace the awning on your RV with a newer and better fabric. By making this upgrade, your camper will be ready for its next great adventure.
So, where can you find high-quality, low-cost fabric for your camper awning?
At ALEKO, we offer a host of awning fabric options, styles, and sizes. Whether you want a striped pattern for your motorized awnings or a bold color for your manual camper awnings, ALEKO awning fabric is designed to look great, last long, and be easy to clean—no matter the camping conditions.
If you’re ready to spruce up your camper awning, contact us today.
Sources:
Harvest Hosts. 8 Basic Steps of RV Awning Maintenance.https://harvesthosts.com/rv-camping/8-basic-steps-rv-awning-maintenance/