Are you ready to take your property’s security and convenience to the next level? Installing an automatic gate opener is a brilliant choice. These sturdy iron and steel gates not only make a lasting impression, but they also offer a reliable and efficient access control system. In this comprehensive guide, we’ll walk you through the step-by-step process of how to install an automatic gate opener, equipping you with the knowledge and confidence to tackle this project. So, let’s roll up our sleeves and dive right in!
Assessing Your Gate
Before delving into the installation process, it’s vital to assess your gate’s condition and suitability for an automatic gate opener. Look for any signs of damage, rust, or misalignment that could hinder smooth operation. Make sure the gate is structurally sound and capable of supporting the opener’s weight. If any issues arise, consider gate repair or installation before proceeding.
Selecting the Right Opener

With a plethora of options available, choosing the perfect automatic gate opener is crucial. Factors to consider include the gate type (sliding or swing), gate weight and size, and your specific security requirements. Opt for renowned brands that offer reliable gate operators with features such as keypads, remote controls, and advanced access control systems.
Gathering the Necessary Tools
Now that you’ve got your sliding gate opener or swing gate opener, it’s time to move to the next step. Before you start on the installation process, gather the essential tools:
- Drill and Drill Bits: A reliable power drill is essential for drilling holes and securing screws during the installation process. Have a variety of drill bits on hand to accommodate different materials and sizes.
- Screwdriver (Both Flathead and Phillips): A set of screwdrivers will come in handy for attaching brackets, fastening screws, and securing various components of the gate opener.
- Wrenches and Sockets: Depending on the specific gate opener model, you may need wrenches or sockets to tighten bolts, nuts, and other fasteners.
- Measuring Tape: Accurate measurements are crucial for positioning the gate opener and ensuring proper alignment. A measuring tape will be your best friend throughout the installation process.
- Level: A level is essential for ensuring that the gate opener is mounted straight and level. This tool helps you achieve the optimal balance and alignment required for smooth operation.
- Wire Strippers: You’ll need wire strippers to remove the insulation from electrical wires, allowing for proper connections.
- Electrical Tester: Safety is paramount when dealing with electrical connections. An electrical tester enables you to verify that the power supply is properly connected and functioning before testing the gate opener.
- Safety Goggles and Gloves: Protecting your eyes and hands is of utmost priority during installation. Safety goggles shield your eyes from debris and potential hazards, while gloves offer protection and a better grip when handling tools and materials.
- Ladder or Step Stool: Depending on the height of the gate and the installation requirements, a ladder or step stool might be necessary to reach elevated areas safely.
- Additional Tools: Depending on your specific gate opener model, you may require additional tools such as wire connectors, wire nuts, cable ties, and a wire crimper. Consult the manufacturer’s instructions to determine the exact tools needed.
Preparing the Gate
To ensure a smooth installation, it’s important to prepare the gate by installing the necessary brackets and hardware. Follow these steps:
- Measure and mark the desired position for the opener on the gate.
- Attach the mounting brackets securely, ensuring they are level and aligned.
- Double-check the stability of the brackets to guarantee proper opener function.
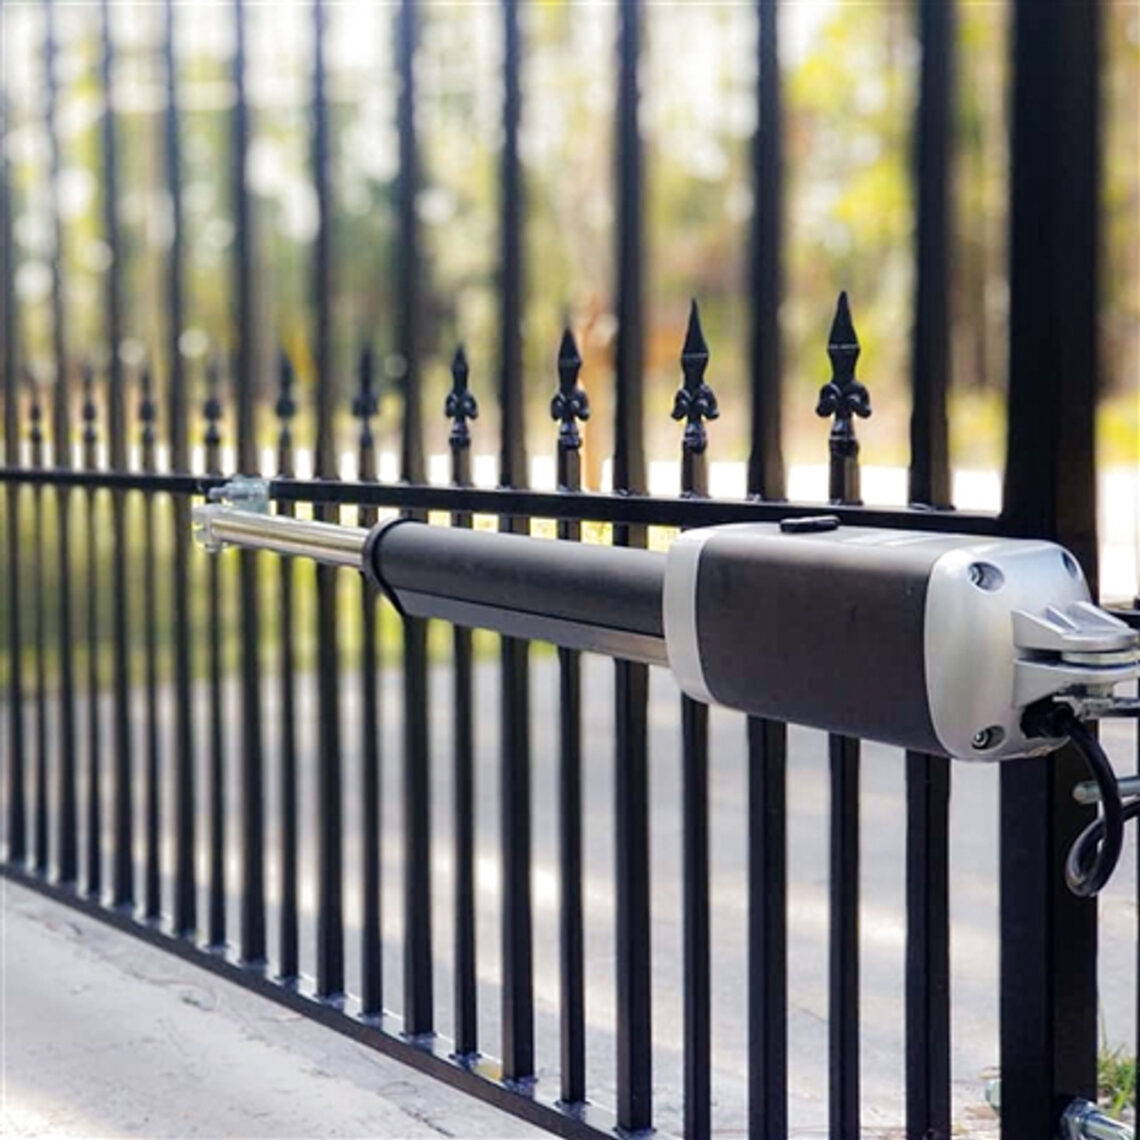
Mounting the Opener
Now that the gate is prepped, it’s time to mount the automatic gate opener. Here’s how:
- Carefully position the opener on the mounting brackets.
- Secure it in place using the provided hardware and fasteners.
- Check that the opener is level and centered, making any necessary adjustments.
Connecting the Control System
To ensure smooth automatic gate opener installation, correctly connect the control system. Follow these steps:
- Identify the control box and carefully open it.
- Connect the control wires according to the manufacturer’s instructions, ensuring proper polarity.
- Secure the connections with wire nuts or electrical connectors.
- Close the control box, safeguarding it from the elements.
Powering Up
Once the opener is securely mounted and the control system is connected, it’s time to power up the gate. Here’s what to do:
- Connect the power supply to the control box, following the manufacturer’s instructions.
- Use an electrical tester to verify a safe and proper connection.
- Test the gate opener to ensure smooth operation and adjust settings as needed.
Additional Features and Safety Measures
To optimize your automatic gate opener’s performance and ensure the safety of your property, consider the following:
- Install safety features like sensors that detect obstacles to prevent accidents.
- Explore the option of integrating a keypad or remote control for convenient access.
- Consider adding a solar panel for an eco-friendly power source and cost savings.
Congratulations on successfully installing your automatic gate opener! With our expert advice from the ALEKO team, you’ve elevated your property’s security, convenience, and curb appeal. Remember to prioritize safety at every step and consult professional gate services if challenges arise. Enjoy the seamless fusion of style and functionality that your iron or steel gate masterpiece brings. Sit back, relax, and embrace the ease and peace of mind that come with your new automatic gate opener.
Want to improve the rest of your property? Shop ALEKO home improvement products today!